Most everyone watches (and loves) the show Fixer Upper on HGTV starring Chip and Joanna Gaines; I’m no exception, love them. Once I saw the episode with the coffee bar, I knew I needed one. Next to Chip and Joanna, I’m coffee’s biggest fan. Here is the inspiration pic from the episode: 
Looks easy enough. I have a wall between the kitchen and nook area that is perfect for this nifty project.
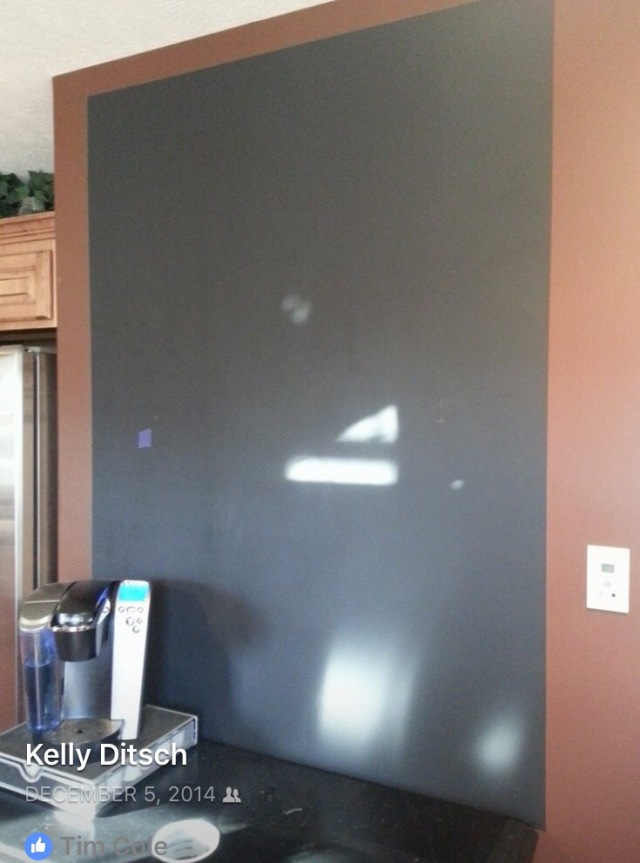
First task, chalkboard paint. I used a tape measure and just guesstimated how wide I wanted this to be on the wall avoiding the switch plate side of the wall. Two top marks, two bottom marks then connected them using a level to make a rectangle. I taped the exterior of the rectangle with painters tape and used a foam roller to paint in the rectangle with chalkboard paint. About three coats was all it took. Then I removed the painters tape.  I decided to use galvanized plumbing and stained 2 X 10 boards for my shelves (thank you Pinterest). I found my plumbing at Home Depot. It is a bit costly but looks fantastic. The floor flanges were almost $5 each and I needed 4. These are anchored to the wall on the studs. Not all of the holes hit the stud so the others are anchored with plastic wall anchors from Home Depot.
Once the flanges were installed, I screwed in the threaded straight galvanized pieces that will hold the resting shelf. These arms are capped with a galvanized threaded plumbing cap.
(I guesstimated on my shelving height so there is no rhyme or reason to where they were positioned, I just eyeballed what height I thought would work best. My shelves are spaced just under 2 feet apart. I placed the flanges 12 inches inward from the outer edge of the chalkboard. My top shelf is 24 inches from the ceiling. The bottom of my bottom shelf measures just under 3 feet from the bottom of the chalkboard.)  I cut my 2 X 10 boards the exact length of the width of the chalkboard and stained them with Rustoleum Honey stain. I cut 1 1/2 inch trim to frame the outside of the chalkboard and tacked it up with my brad tack nailer after staining.

For the base, I found an old record cabinet at Goodwill for $50. I lightly sanded it and painted it black. I had a small plastic Home Depot container laying around that I decided to utilize as a trash chute. I cut it in half and threw the bottom away then spray painted the top chute piece I saved with black spray paint. I traced the top rim on my bar top and used a jig saw to cut out the hole then set the plastic chute in the hole to line it. I placed an ice cream bucket underneath the chute on the top shelf to act as my trash receptacle.  The record cabinet is perfect for this project. I has sliding shelves and drawers, plenty of storage and a built in plug in in the back!
  Next, I installed staggered cup hangers under the bottom shelf and installed pipe brackets over all 4 shelf arms to attach the shelf board to the pipe in order to prevent shelf lift and accidents (these pieces all had to be spray painted black because the brackets only come in silver and the cup hangers I had were gold).
  I free handed the chalk graphics using my inspiration picture as my guide and then I started stocking shelves.
Here is the final result. I am no Joanna Gaines, but I love the finished project. 
What’s your “Joanna Gaines project”?

Love it!
LikeLike
Thank you, and thanks for reading!
Happy Easter to you and yours.
LikeLike
I think we’re all guilty of wanting to be Joanna! Haha. Your coffee bar looks awesome!
LikeLike
She sure does amazing work. I wish I had her wide scope of vision. Thanks so much for your kind words.
Happy Easter to you and yours!
LikeLike
That turned out great and the trash chute is an awesome detail not most people think of. Great job!
LikeLike
Thank you! It was actually a last minute addition after seeing it in a restaurant restroom!
LikeLike
Beautiful job!!! She would be so happy she inspired you!
LikeLiked by 1 person
Thank you. 😊
LikeLiked by 1 person
😉
LikeLike